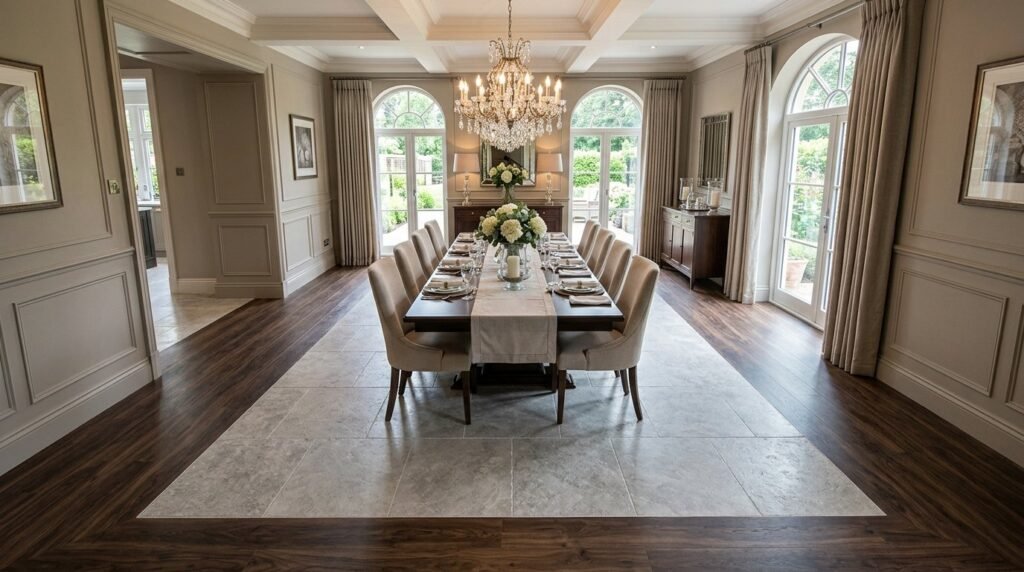
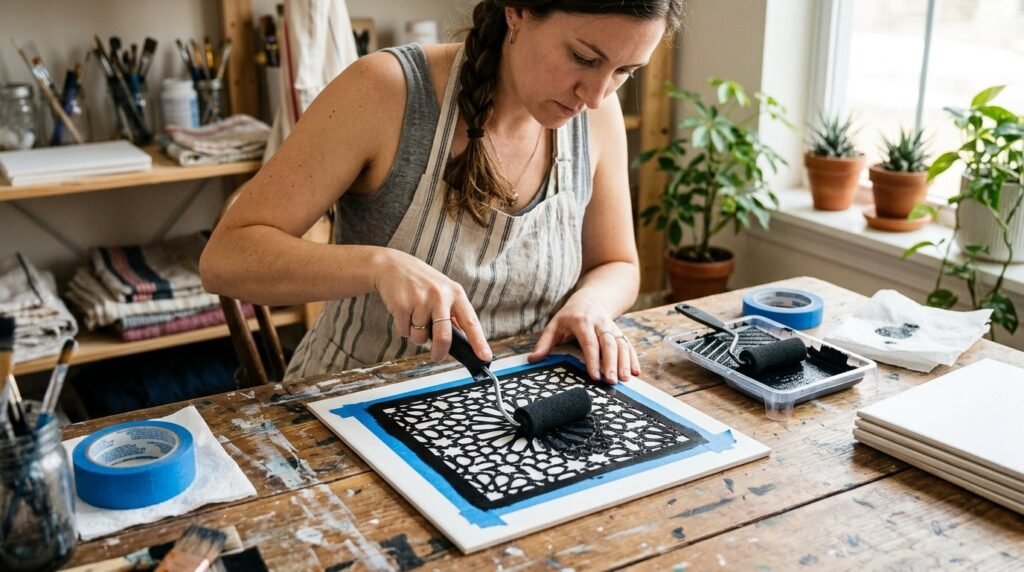
The morning sun hit my kitchen floor, revealing every chipped corner and stained grout line of the outdated linoleum. I knew a professional retiling job would cost at least $4,000—money I didn’t have as a renter. My heart sank every time I looked down at that drab, yellowing surface. I decided to try a $150 batch of vinyl tiles, but I was terrified they would peel up within a week or look cheap. Instead, I discovered a few trade secrets that made the final result look like high-end stone. If you are tired of staring at a floor that brings you down, these strategies will give you a designer look for a fraction of the cost.
Executive Summary
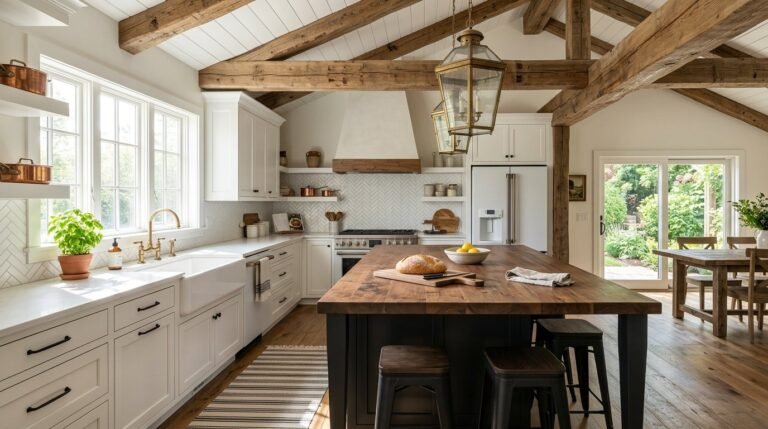
This guide provides 23 actionable methods to transform your home using affordable, high-quality vinyl options. You will find out how to achieve professional-grade results on a budget of under $200 for most standard rooms. We cover specific techniques for difficult areas like bathroom plumbing and kitchen high-traffic zones. You will discover why traditional prep methods often fail and how to use heat and specialized adhesives to ensure your floor stays put for years. While many people worry about the “cheap” look of sticky tiles, our approach focuses on luxury patterns and proper finishing touches like trim and caulk that bridge the gap between DIY and professional installation.
1. Herringbone Layout Method
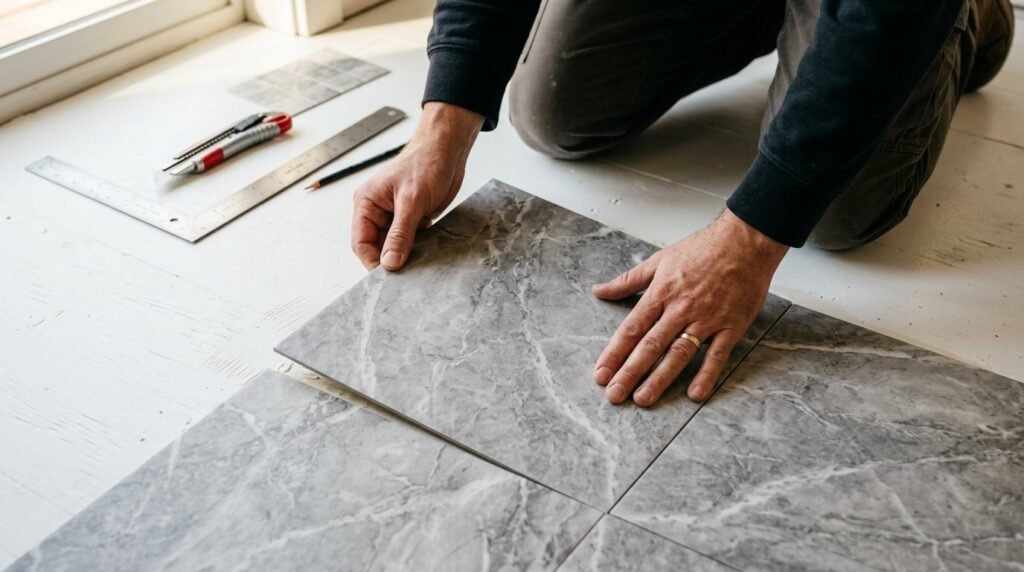
Starting your layout from the center of the room creates a balanced, high-end visual that mimics expensive hardwood. In my experience, a herringbone pattern hides slight wall irregularities better than standard horizontal rows. I used FloorPops for a small entryway and found that rotating the tiles at 45-degree angles instantly made the 10-square-foot space feel larger. You should use a chalk line to mark your center point before peeling the first backing. This project takes about four hours for a small hallway. A common mistake is starting against a crooked wall, which makes every subsequent row look slanted.
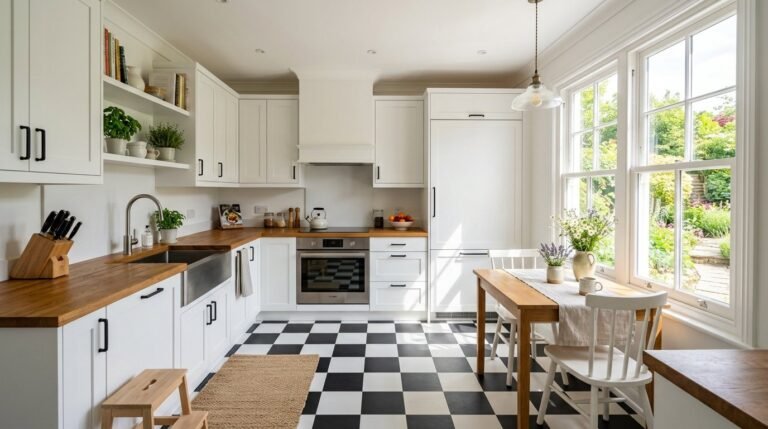
2. Checkerboard Retro Entryway
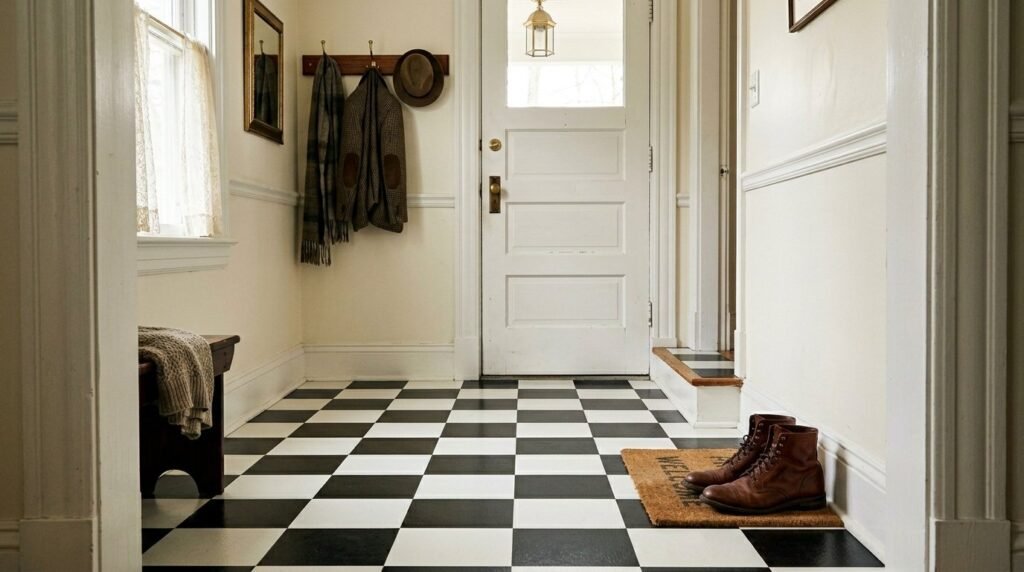
Classic black and white patterns provide a timeless aesthetic that works perfectly with Renter Friendly Peel And Stick Floor Tile. I helped a friend refresh a 1950s-style kitchen using this method for under $80 in materials. You can alternate matte black and marble-effect tiles to add texture and depth. Measure your space twice to ensure the partial tiles at the edges are equal in size. This setup creates a bold focal point that distracts from older appliances. Do not forget to wipe every tile with a damp cloth after installation to remove any factory residue.
3. Toilet Template Cutting
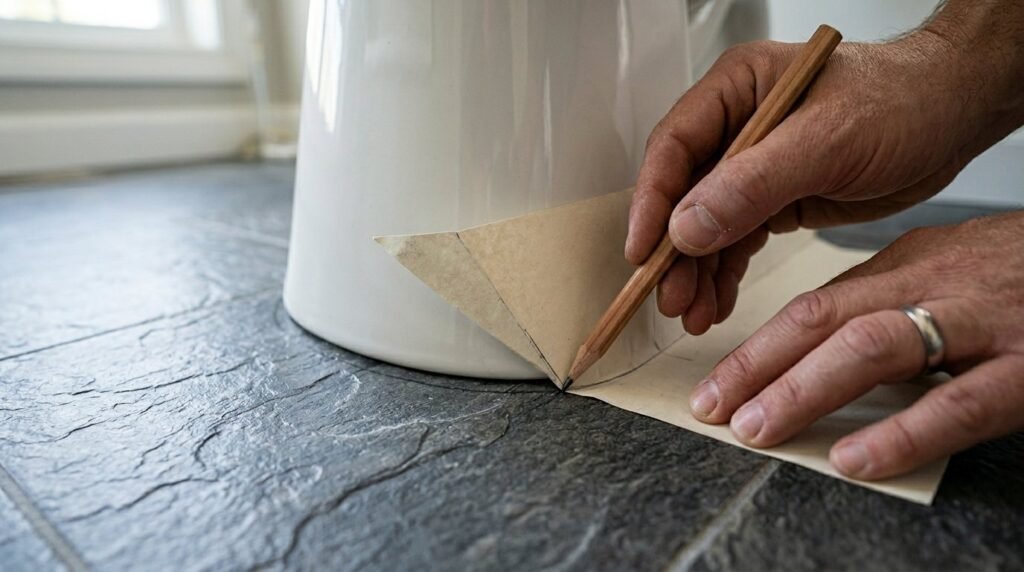
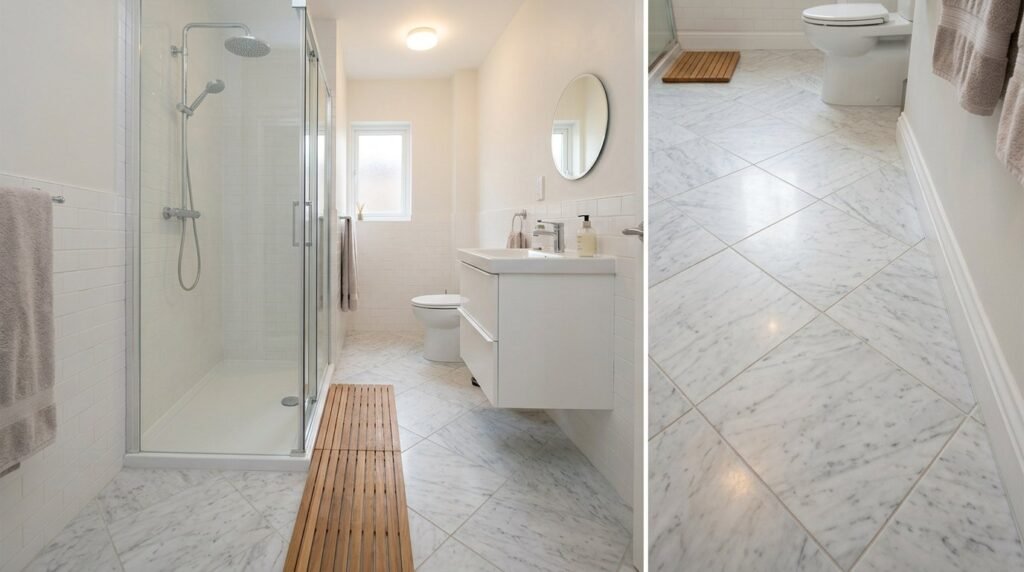
Fitting vinyl around a porcelain base is the hardest part of any Peel And Stick Floor Tile Bathroom Diy project. I found that using the paper backing of the tile as a template saves hours of frustration and wasted material. You should press the paper against the base of the toilet and crease it with your fingernail to get an exact line. Cut the template first, then trace it onto the actual tile. This ensures a tight fit that looks professional. Many beginners try to eye-ball the curve, which results in unsightly gaps where hair and dust collect.
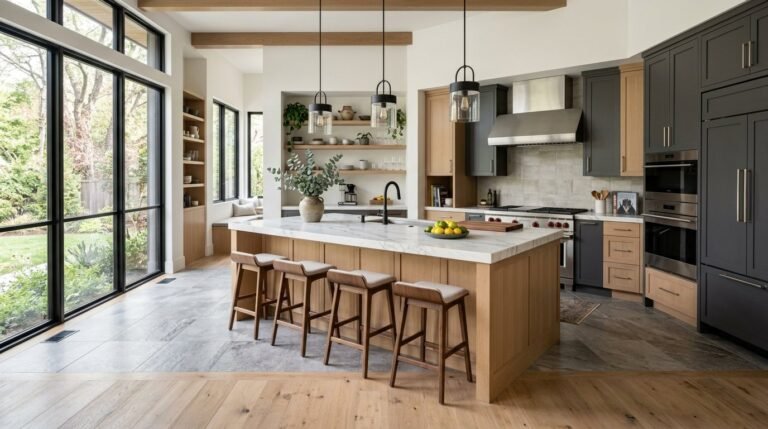
4. Wall Backsplash Conversion
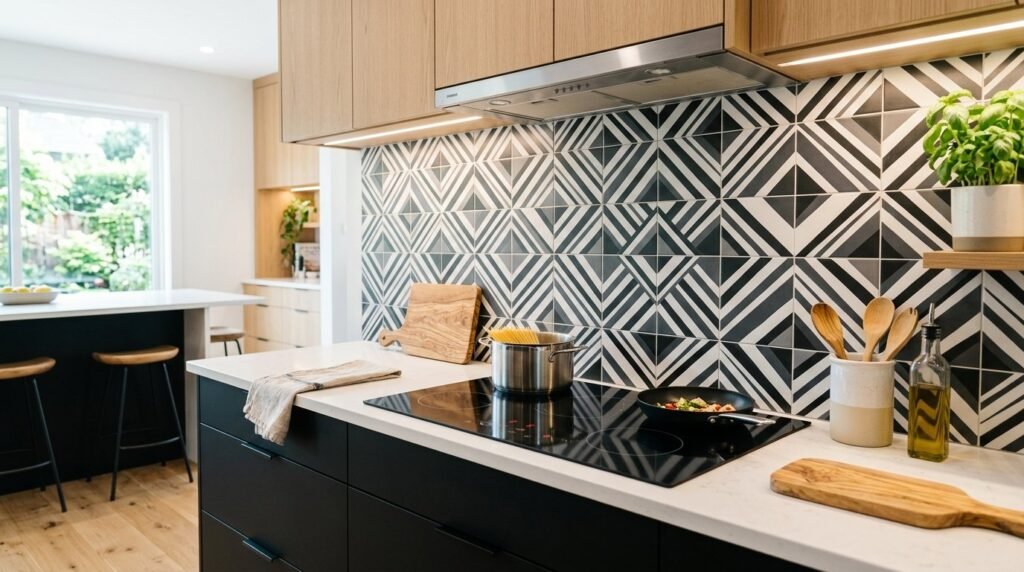
Taking Floor Pops On Wall is a brilliant way to create a waterproof, easy-to-clean backsplash in a kitchen. I’ve noticed that these tiles hold up remarkably well against heat and moisture when installed on a vertical surface. You will need a spray adhesive like 3M Super 77 to give the tiles extra grip on drywall. This hack costs about $40 compared to $500 for real ceramic tile. A common error is ignoring the “top-down” rule; always start your first row at the bottom where the counter meets the wall to ensure a level line.
5. Grout Line Illusion
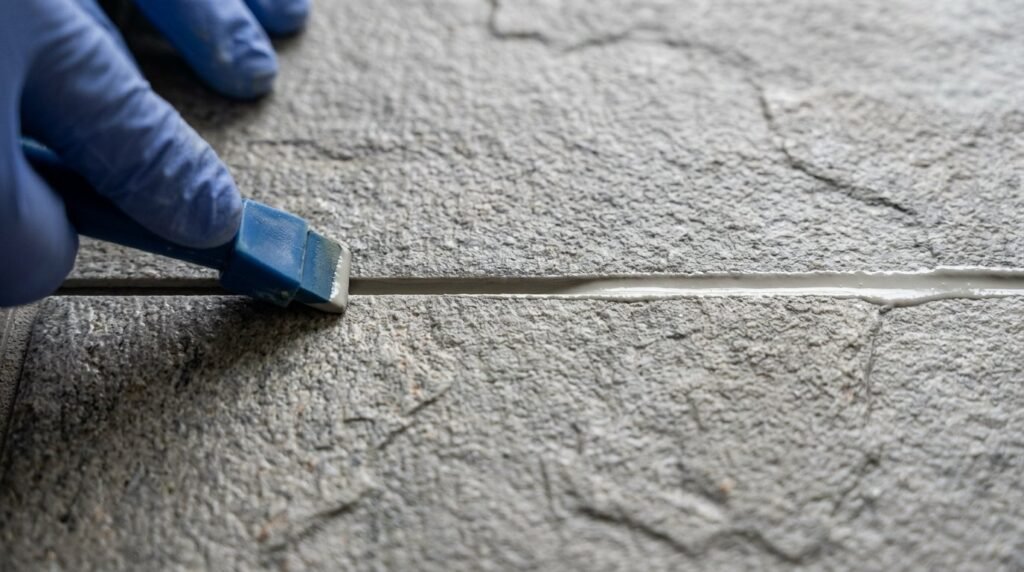
Some vinyl tiles come with finished edges that allow for a tiny gap where you can apply real grout. This makes the Sticky Tile Floor look indistinguishable from real stone or ceramic. I’ve tried this in a guest bathroom and the results lasted over three years without a single tile shifting. Use a pre-mixed, flexible grout specifically designed for vinyl to prevent cracking as the floor naturally flexes. This adds about $20 to your total budget but triples the perceived value of the home. Be careful not to use traditional cement grout, as it is too rigid and will crumble.
6. Quarter Round Finishing
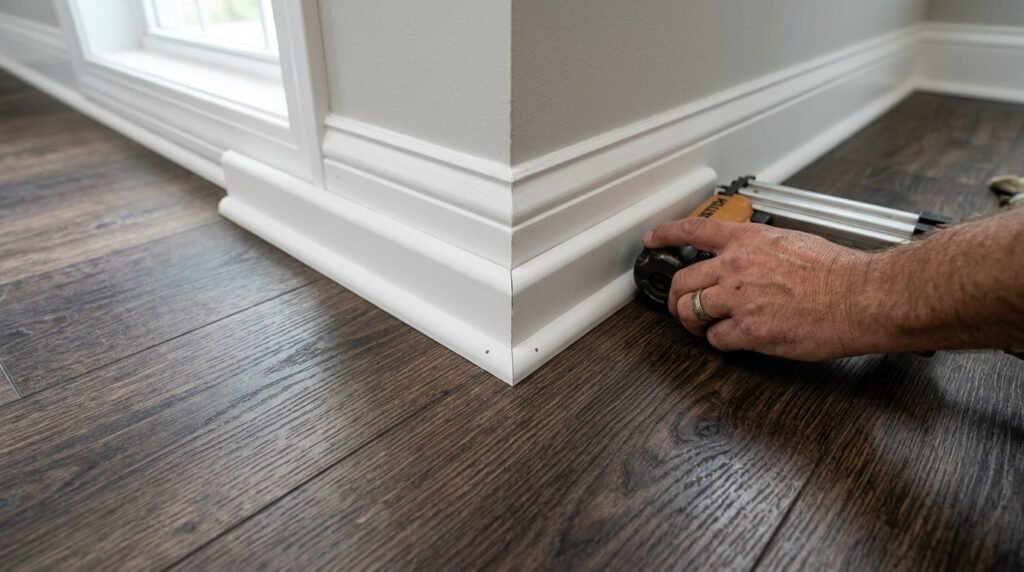
The secret to making any DIY flooring look expensive is the trim work at the edges. Installing simple white quarter round molding covers the small gaps between the tile and the baseboard. I saw a massive difference in a laundry room makeover when I added $15 worth of PVC trim from Home Depot. You can use a miter box and a hand saw to cut the angles, making it a very accessible task for beginners. Many people skip this step, leaving the raw edges of the vinyl exposed, which leads to peeling over time.
7. Degreaser Prep Power
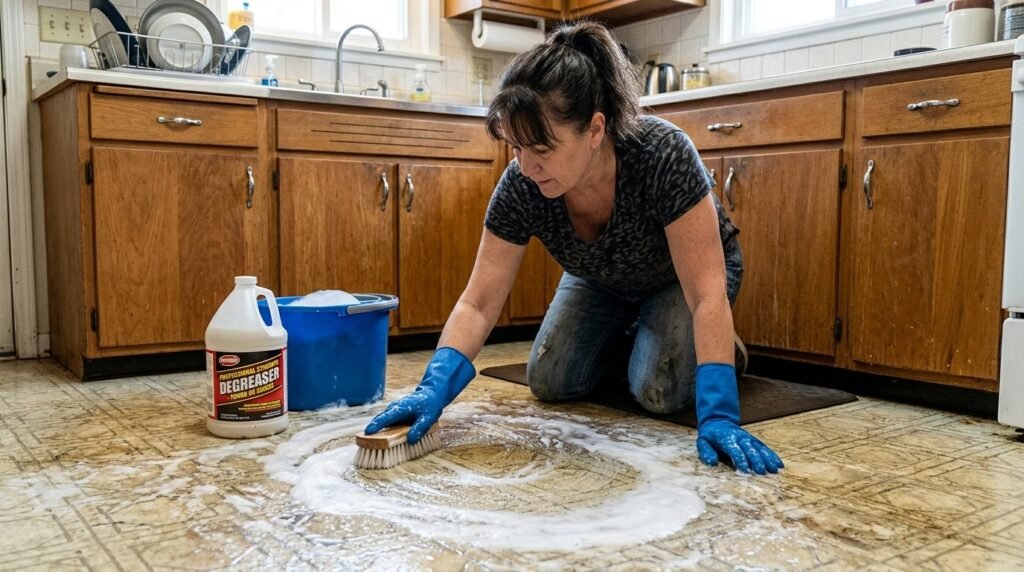
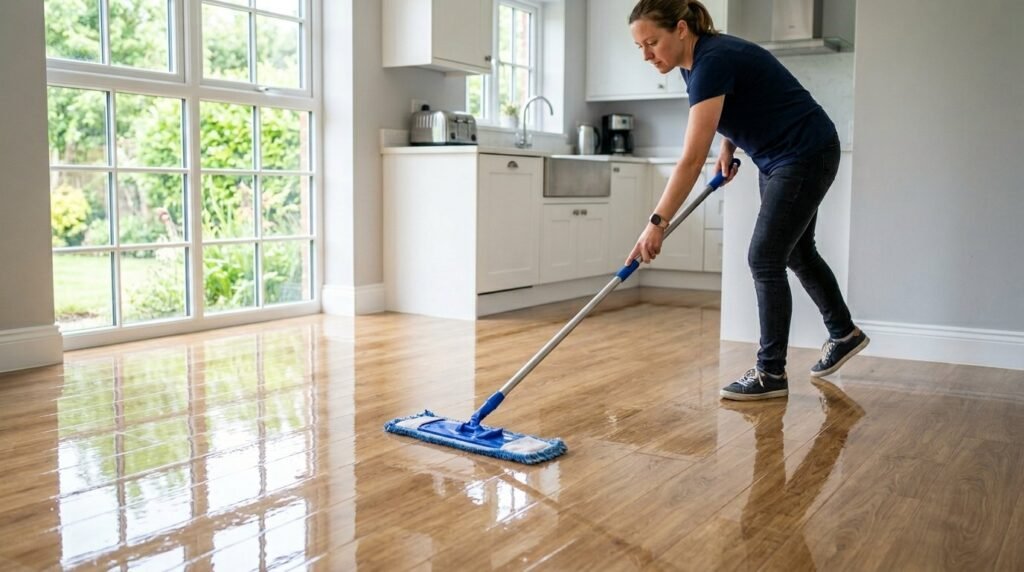
The number one reason vinyl floors fail is poor surface preparation. You must use a heavy-duty degreaser like Krud Kutter to remove every trace of oil and wax from the old floor. I once skipped this in a kitchen and the tiles near the stove started sliding within a month. Scrub the floor twice and let it dry for at least six hours before you start the installation. This step costs less than $10 but determines if your floor lasts two months or five years. Avoid using soap-based cleaners, as they leave a film that prevents the adhesive from bonding.
8. Stair Riser Accents
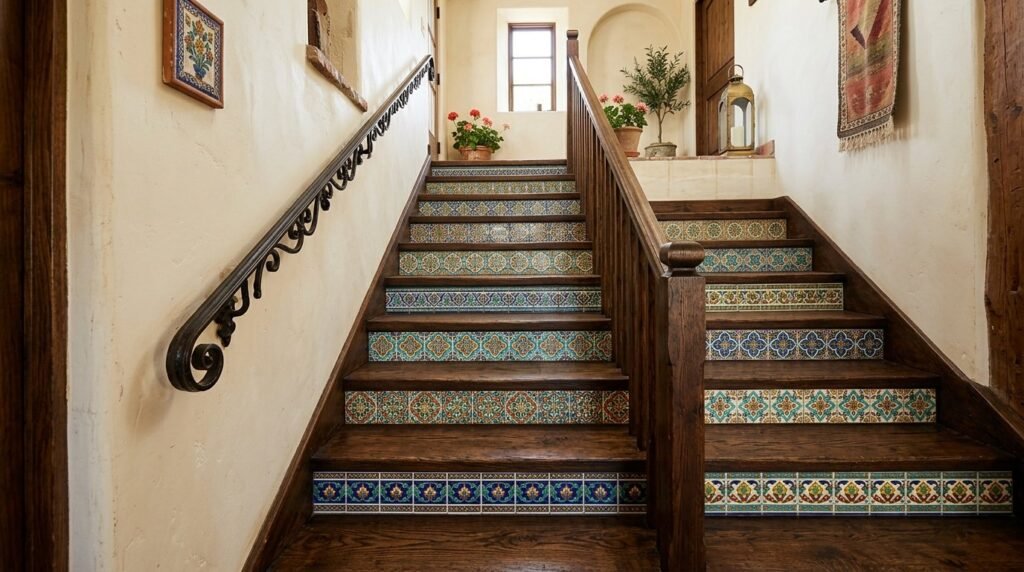
Applying patterned vinyl to the vertical part of your stairs adds a pop of personality without the wear and tear of foot traffic. I’ve seen many people benefit from this hack in narrow entryways where they want to add color without clutter. Use a utility knife and a metal straight edge to get perfectly clean cuts. This project usually requires only one or two boxes of tile, keeping the cost around $30. Ensure the surface is sanded smooth if the stairs are old wood to prevent bumps from showing through the vinyl.
9. Fireplace Hearth Refresh
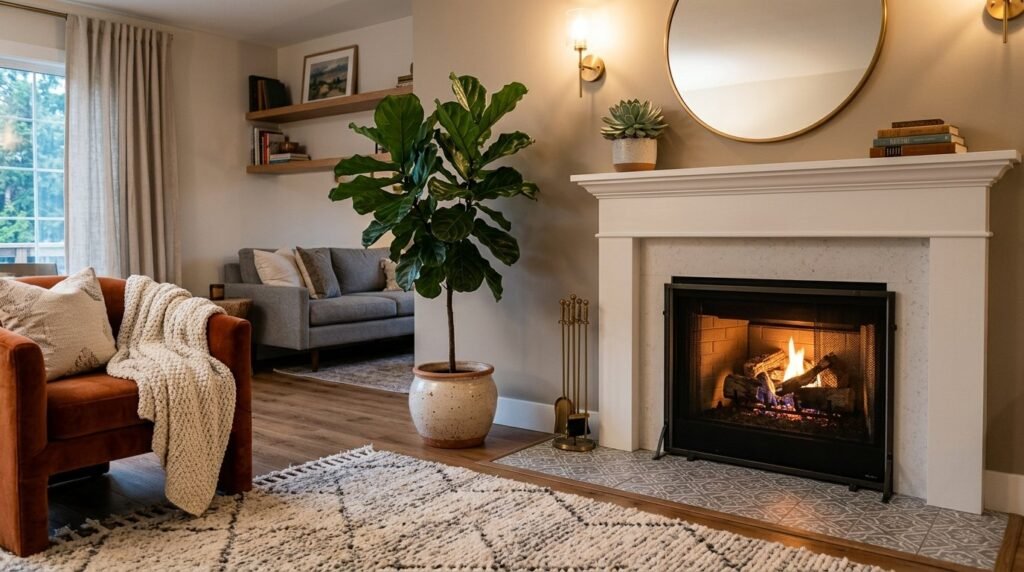
A dated brick or concrete hearth can be modernized in an afternoon using heat-resistant vinyl tiles. In my experience, this is the fastest way to change the vibe of a living room. You should ensure the hearth is not used for wood-burning fires where embers might land on the floor, though it is perfectly safe for gas inserts. The total time for this project is roughly 90 minutes. A common mistake is not priming the porous concrete first; a quick coat of floor primer ensures the tiles stay stuck to the stone.
10. Heavy Duty Adhesive
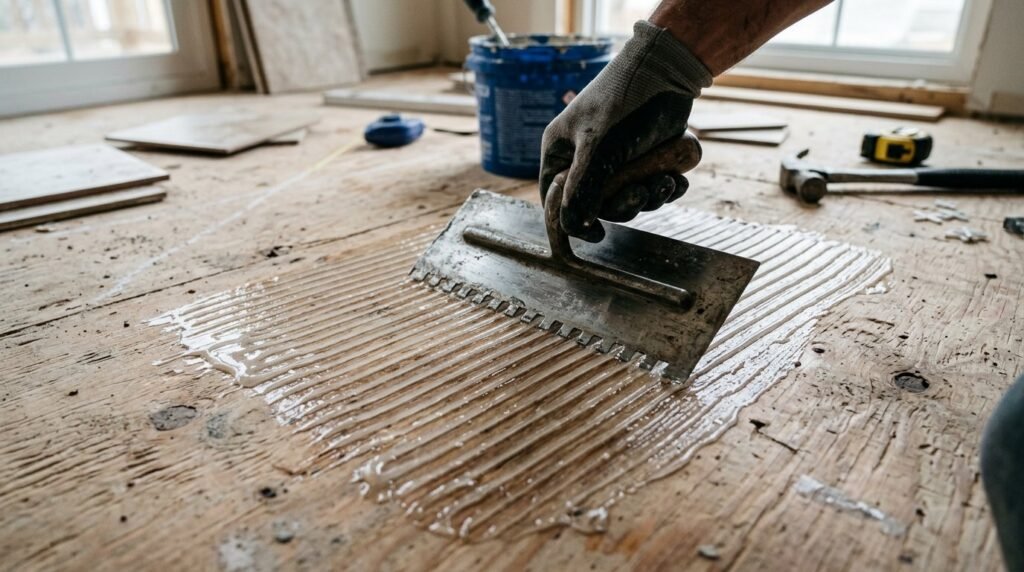
If you are installing in a high-traffic Rental-friendly Kitchen Flooring area, the factory glue might not be enough. Applying a thin layer of pressure-sensitive vinyl tile adhesive with a notched trowel creates a permanent bond. I used this method in a mudroom that sees constant wet boots and heavy dog paws. The adhesive costs about $15 per gallon and covers a large room. This approach makes the tiles harder to remove later, so keep that in mind if you are in a temporary rental.
11. Hair Dryer Warming

Warming the back of each tile with a hair dryer for 30 seconds before pressing it down makes the glue significantly more aggressive. I’ve noticed this is especially helpful during winter months when the tiles might be cold and stiff. The heat makes the vinyl more pliable, allowing it to conform to slight dips in the subfloor. This adds zero cost to your project but ensures a much tighter seal. Do not overheat the tile, as you could warp the pattern or melt the top wear layer.
12. Silicon Caulk Sealing
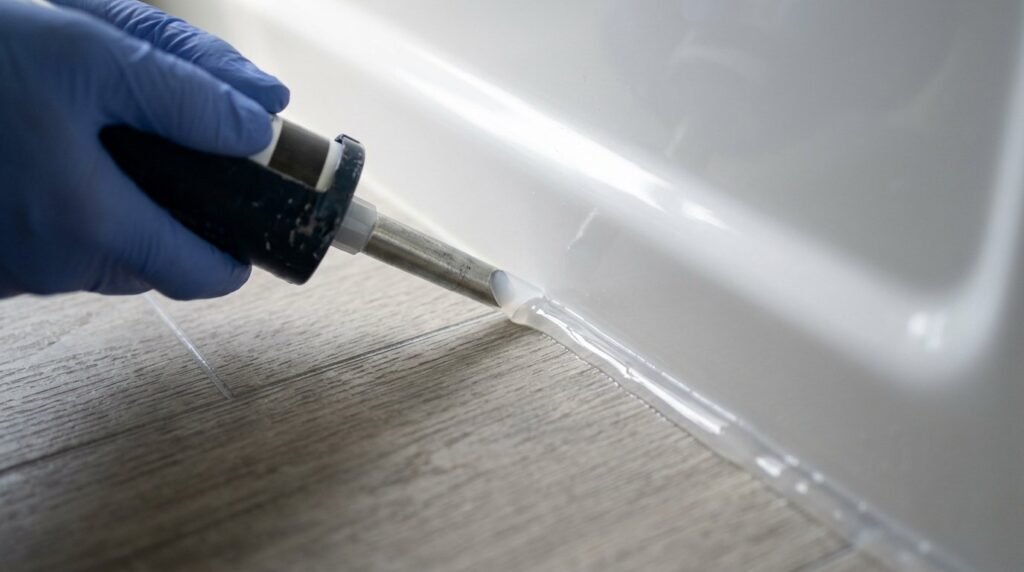
Running a bead of clear or color-matched silicon caulk around the perimeter of a Floor Pops Peel And Stick Kitchen prevents water from seeping under the tiles. This is vital near the dishwasher and sink area where spills are common. I’ve tried this in three different homes and it has prevented the edges from curling upward. A tube of caulk costs $8 and takes 10 minutes to apply. Many DIYers forget that water is the enemy of adhesive; sealing the edges is the best insurance policy for your hard work.
13. Vinyl Plank Border
Creating a “frame” around the room using a different color or texture of vinyl plank adds architectural interest. I once paired a gray stone-look tile with a dark wood-look plank border in a dining room. This technique mimics the look of high-end custom tile work seen in luxury hotels. You will need to plan your cuts carefully so the border is an even width on all sides. This adds complexity to the layout but creates a stunning visual result for the same low material cost.
14. Rolling Weighted Seal
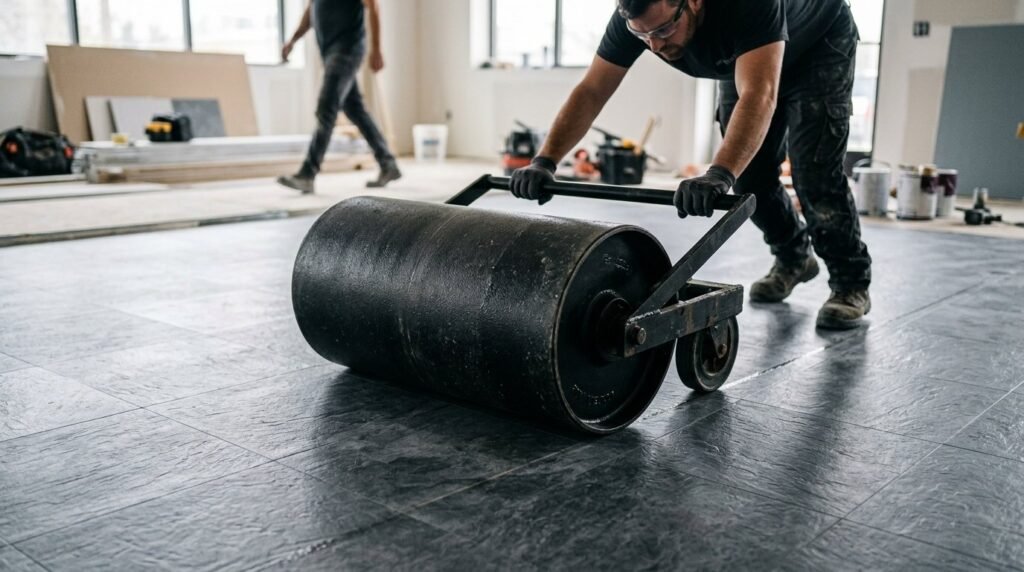
After you lay down a section of floor, you need to apply significant pressure to set the bond. If you don’t want to rent a heavy floor roller, you can use a rolling pin or even a heavy toolbox dragged across a towel. I’ve seen this simple step prevent “popping” tiles in the weeks following an install. Spend at least 20 minutes rolling over the entire surface once you finish. This ensures the pressure-sensitive adhesive is fully activated against the subfloor.
15. Threshold Transition Strips
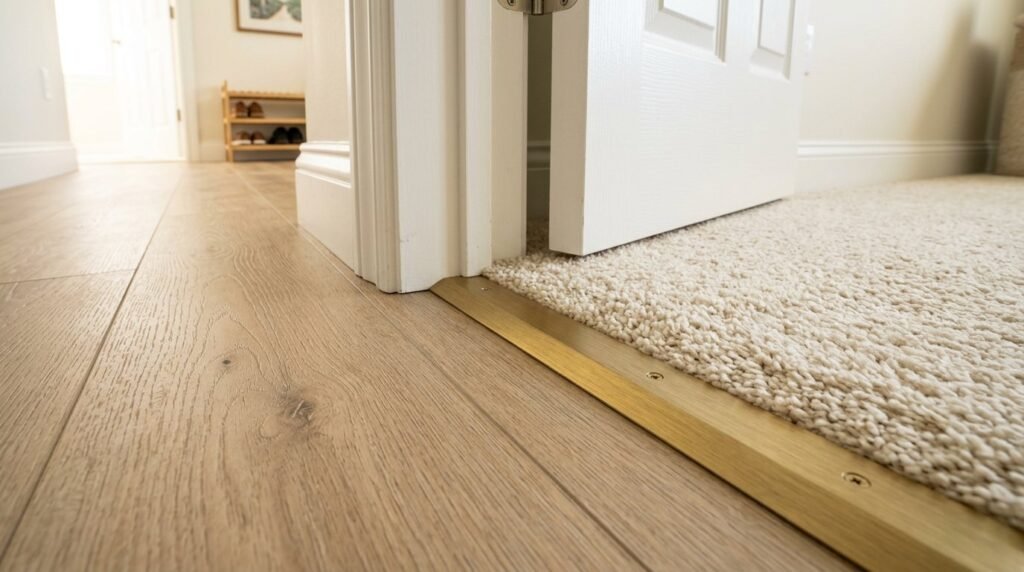
Using a metal or wood transition strip where your new vinyl meets another flooring type makes the project look finished. I found that a “peel and stick” transition strip works great for renters who can’t drill into the subfloor. These strips cost about $12 and come in various finishes like brushed brass or oak. It prevents the edge of the vinyl from being kicked or tripped on, which is where most peeling starts. Avoid leaving the raw edge exposed at doorways at all costs.
16. Laundry Room Waterproofing
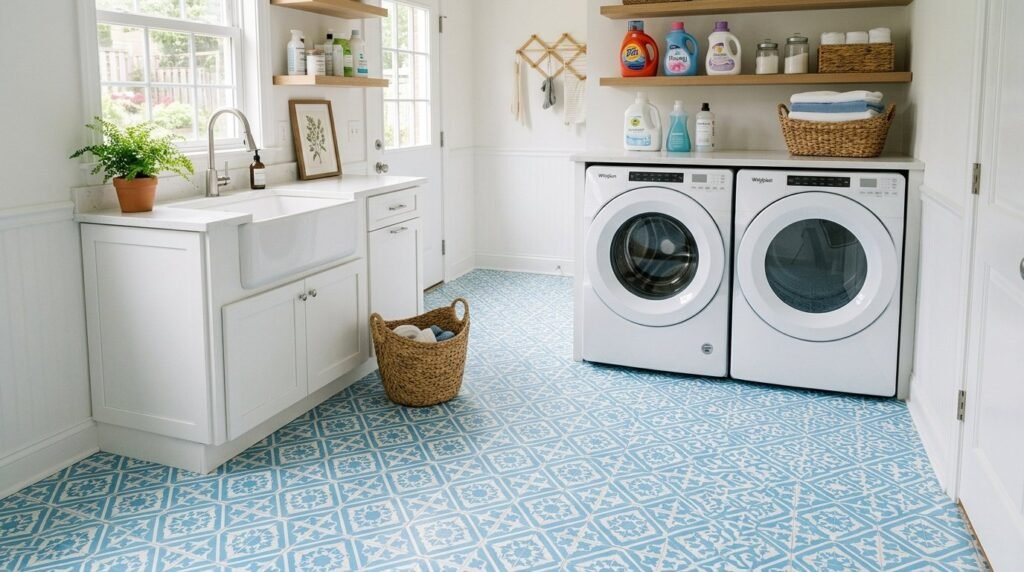
Laundry rooms often have uneven concrete floors that are cold and unattractive. Using a thicker, 2mm vinyl tile provides a bit of insulation and a much softer surface for standing on. I’ve noticed that the added thickness also hides small cracks in the concrete better than thin contact paper. Ensure you level any major divots with a floor patching compound first. This room usually takes about three boxes of tile and a Saturday afternoon to complete.
17. Custom Stencil Overlay
If you can’t find a pattern you love, you can buy plain white vinyl tiles and use a stencil with floor paint to create your own design. I’ve tried this to create a Moroccan-style pattern that would have cost $15 per square foot in real tile. Use a high-quality polyurethane sealer over the paint to prevent it from scratching off. This hack is more time-consuming but allows for total creative freedom. It is perfect for small spaces like a powder room or walk-in closet.
18. Diagonal Spacing Hack
Installing your tiles on a diagonal (diamond pattern) can make a small, cramped bathroom feel much wider. I helped a neighbor do this with a 23 Peel and Stick Floor Tile Hacks for DIY Floors approach in their tiny guest bath. You will need about 15% more material to account for the triangular cuts at the edges. The visual impact is worth the extra $20 in waste. A common mistake is not finding the exact center of the room before starting, which leads to tiny, awkward triangles on one side.
19. Sanding Subfloor Peaks

Before you lay a single tile, run a sanding block over any high spots or dried paint drips on your existing floor. Any tiny bump will eventually “telegraph” through the vinyl, creating a wear spot that eventually holes. I spent 30 minutes sanding a plywood subfloor and it made the final finish look like glass. This step is messy, so wear a mask and vacuum thoroughly afterward. Even a grain of sand trapped under the tile can be felt through socks once the floor is down.
20. Plywood Underlayment Layer
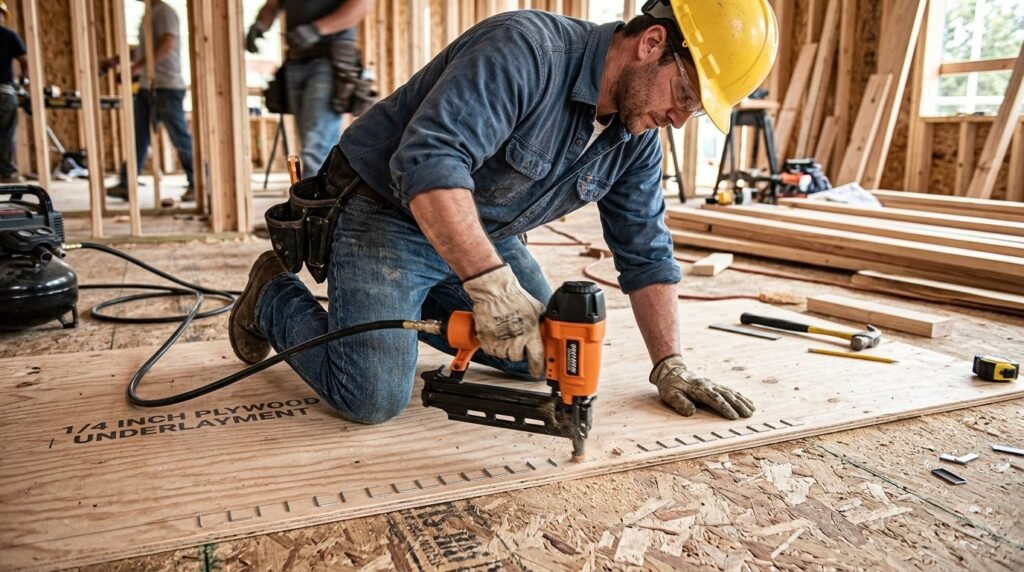
If your subfloor is in terrible shape, laying down thin 1/4-inch plywood sheets provides a perfectly smooth surface. This is a more advanced hack but results in a floor that can last ten years or more. I’ve seen this work wonders in old farmhouses with warped floorboards. Secure the plywood with a staple gun every six inches. This adds about $0.50 per square foot to the cost but guarantees a professional-looking bond for your vinyl.
21. Pattern Mixing Zones
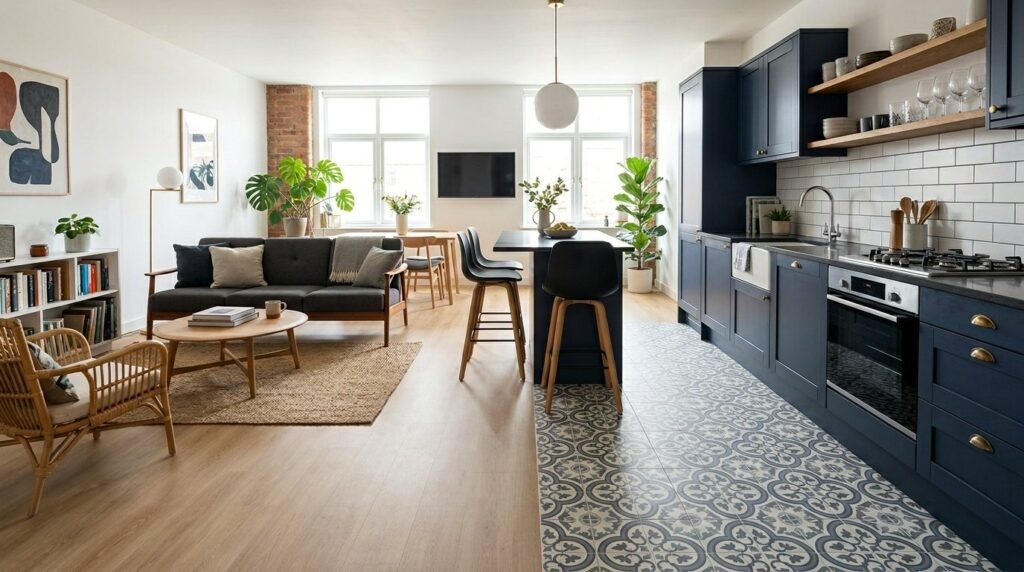
In an open-concept space, you can use different tile patterns to define “zones” like a dining area or a workspace. I’ve noticed this works exceptionally well in studio apartments to create a sense of separate rooms. Choose colors that share a common undertone to keep the look cohesive. This strategy replaces the need for area rugs, which can be hard to clean in a kitchen or entry. Make sure the tiles are the same thickness to avoid a tripping hazard at the seam.
22. Long-term Maintenance Wax
Once your floor is installed, applying a coat of high-quality vinyl floor wax adds a protective layer against scratches. I’ve found that a product like Rejuvenate Floor Restorer makes the vinyl look like it has a high-end factory finish. This fills in the tiny seams between tiles, making the surface nearly waterproof. Reapply once a year to keep the floor looking brand new. Avoid using “mop and glow” products as they can build up a waxy yellow residue over time.
23. Safe Removal Strategy
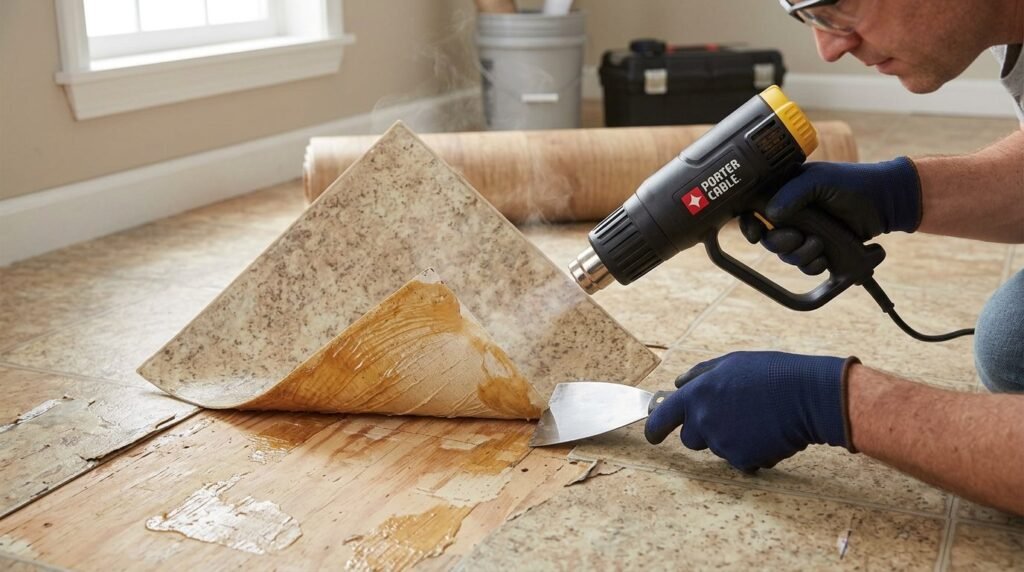
For renters, the biggest fear is the sticky residue left behind when it’s time to move out. I have discovered that using a heat gun or hair dryer to soften the glue before pulling the tile up makes it come off cleanly. If there is any tackiness left, a citrus-based adhesive remover like Goo Gone will take it right off without damaging the original floor. This knowledge gives you the confidence to customize your space without risking your security deposit. Always test a small inconspicuous corner first to be sure.
Frequently Asked Questions
Can I install these over existing ceramic tile?
Yes, you can install vinyl over ceramic, but the grout lines in the original tile will eventually show through the vinyl. This is known as “telegraphing.” To prevent this, I recommend using a floor leveling compound to fill the grout lines first, creating a perfectly flat surface. In my experience, this extra two hours of work makes the difference between a floor that looks fake and one that looks like real stone. If you are a renter, you might want to skip the leveler and choose a patterned vinyl, which hides the underlying grout lines much better than a solid color.
How do I know how many boxes to buy?
Calculate the square footage of your room by multiplying the length by the width. Always add an extra 15% to that total for “waste”—the pieces you will cut and potentially mess up. For a standard 10×10 kitchen, that is 100 square feet, so you should purchase 115 square feet of tile. Most boxes cover 10 or 20 square feet, so check the packaging carefully. I have seen many people have to pause their project for a week because they ran out of tiles and the store was out of stock of that specific dye lot.
Will the edges curl up in a bathroom?
Edges usually only curl if water gets underneath the adhesive or if the floor wasn’t cleaned properly during prep. Using a silicon caulk around the base of the tub and toilet is the best way to prevent this. I also suggest using a hair dryer to heat the edges of the tiles during installation to ensure the bond is as strong as possible. If a corner does pop up later, you can usually fix it with a tiny drop of super glue or specialized vinyl repair adhesive.
Is this flooring suitable for dogs and cats?
Vinyl is actually one of the best flooring choices for pet owners because it is waterproof and scratch-resistant. Unlike hardwood, which can be ruined by a single “accident” or energetic puppy claws, vinyl wipes clean and holds its finish. I have noticed that matte textures are better for pets as they provide a bit more grip for their paws compared to high-gloss tiles. If a tile does get damaged, the beauty of this system is that you can simply peel it up and replace the one affected tile rather than the whole floor.
How To Cut Vinyl Flooring Around Toilet?
The easiest way is to create a paper template. Lay a piece of heavy paper on the floor against the toilet base and trace the curve with a pencil. Cut the paper and check the fit. Once the paper fits perfectly, tape it to the top of your vinyl tile and cut along the line with a sharp utility knife. This ensures you don’t waste expensive tiles trying to eye-ball a complex curve.
Conclusion
Transforming your home doesn’t require a massive bank account or professional construction skills. By using these 23 Peel and Stick Floor Tile Hacks for DIY Floors, you can take a room from depressing to designer in a single weekend. I’ve seen how small changes like a fresh checkerboard entryway or a clean laundry room floor can completely shift how you feel about your space. Remember to prep your surface thoroughly and don’t skip the finishing touches like caulk and trim. Save this post to your DIY board and try one of these ideas this weekend to finally get the floor you deserve.

Meet Sloane Whitaker
Sloane Whitaker is the creative force and lead editor behind Vellora Interiors. With a background in architectural design and a passion for coastal-inspired living, Sloane specializes in bridging the gap between high-end luxury and everyday comfort.
After spending years curateing spaces in the Charleston market, she launched this platform to share her “elevated-yet-attainable” design philosophy. Whether she’s exploring the quiet simplicity of Japandi aesthetics or the storied charm of Craftsman architecture, Sloane’s goal is to help homeowners create spaces that feel both timeless and deeply personal.